docker部署vue项目
默认已经安装了 docker,没有安装的自行安装docker
Docker 是一个开源的应用容器引擎,让开发者可以打包他们的应用以及依赖包到一个可移植的容器中,该容器包含了应用程序的代码、运行环境、依赖库、配置文件等必需的资源,通过容器就可以实现方便快速并且与平台解耦的自动化部署方式,无论你部署时的环境如何,容器中的应用程序都会运行在同一种环境下。
本文以数据库为例做说明
具体实现
- 在根目录创建
Dockerfile文件
1 | FROM node:latest |
- 自定义构建镜像的时候基于Dockerfile来构建。
- FROM node 命令的意思该镜像是基于 node:latest 镜像而构建的。
- COPY ./ /app 命令的意思是复制当前目录下文件到app目录
- WORKDIR /app 命令的意思是设定后续指令的工作目录为app
- RUN npm install && npm run build 命令的意思是运行安装依赖打包项目命令
- FROM nginx 命令的意思该镜像是基于 nginx:latest 镜像而构建的。没有指定版本默认最新版本
- RUN mkdir /app 命令的意思是运行在镜像里创建 /app 目录命令
- COPY –from=0 /app/dist /app 命令的意思是将前一阶段中构建的工件目录下dist文件夹下的所有文件复制到镜像中 /app 目录下。
- COPY nginx.conf /etc/nginx/nginx.conf 命令的意思是将当前nginx.config 复制到 etc/nginx/config.conf,用本地的 nginx.conf 配置来替换nginx镜像里的默认配置。
- 在项目根目录创建 .dockerignore 文件
1 | **/node_modules |
- 在项目根目录创建 nginx.conf 文件
1 | user nginx; |
注: 二级路由要使用alias 别名
- 构建你的 Docker 镜像
-t 是给镜像命名 . 是基于当前目录的Dockerfile来构建镜像,注意不要少点
1 | docker build . -t datastore-ui // 镜像名 |
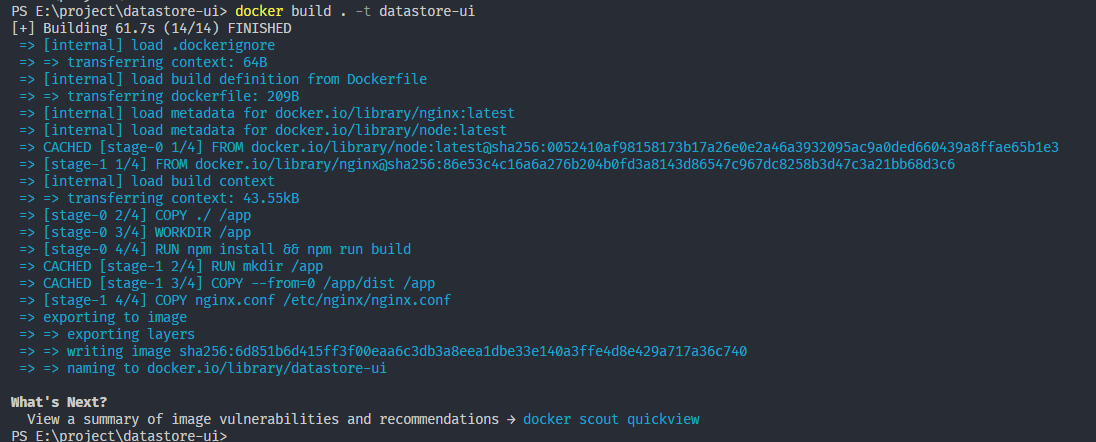
查看本地镜像
1 | docker image ls |

- 启动容器
基于 datastore-ui 镜像启动容器,运行命令:
1 | docker run -d -p 8080:80 --name datastore-ui datastore-ui |
- docker run 基于镜像启动一个容器
- -p 8080:80 端口映射,将宿主的8080端口映射到容器的80端口
- -d 后台方式运行
- –name 容器名 查看 docker 进程
1 | docker ps |

好的,名为datastore-ui的容器成功运行,访问 http://localhost:8080/datastore-dev/home ,可以看到页面
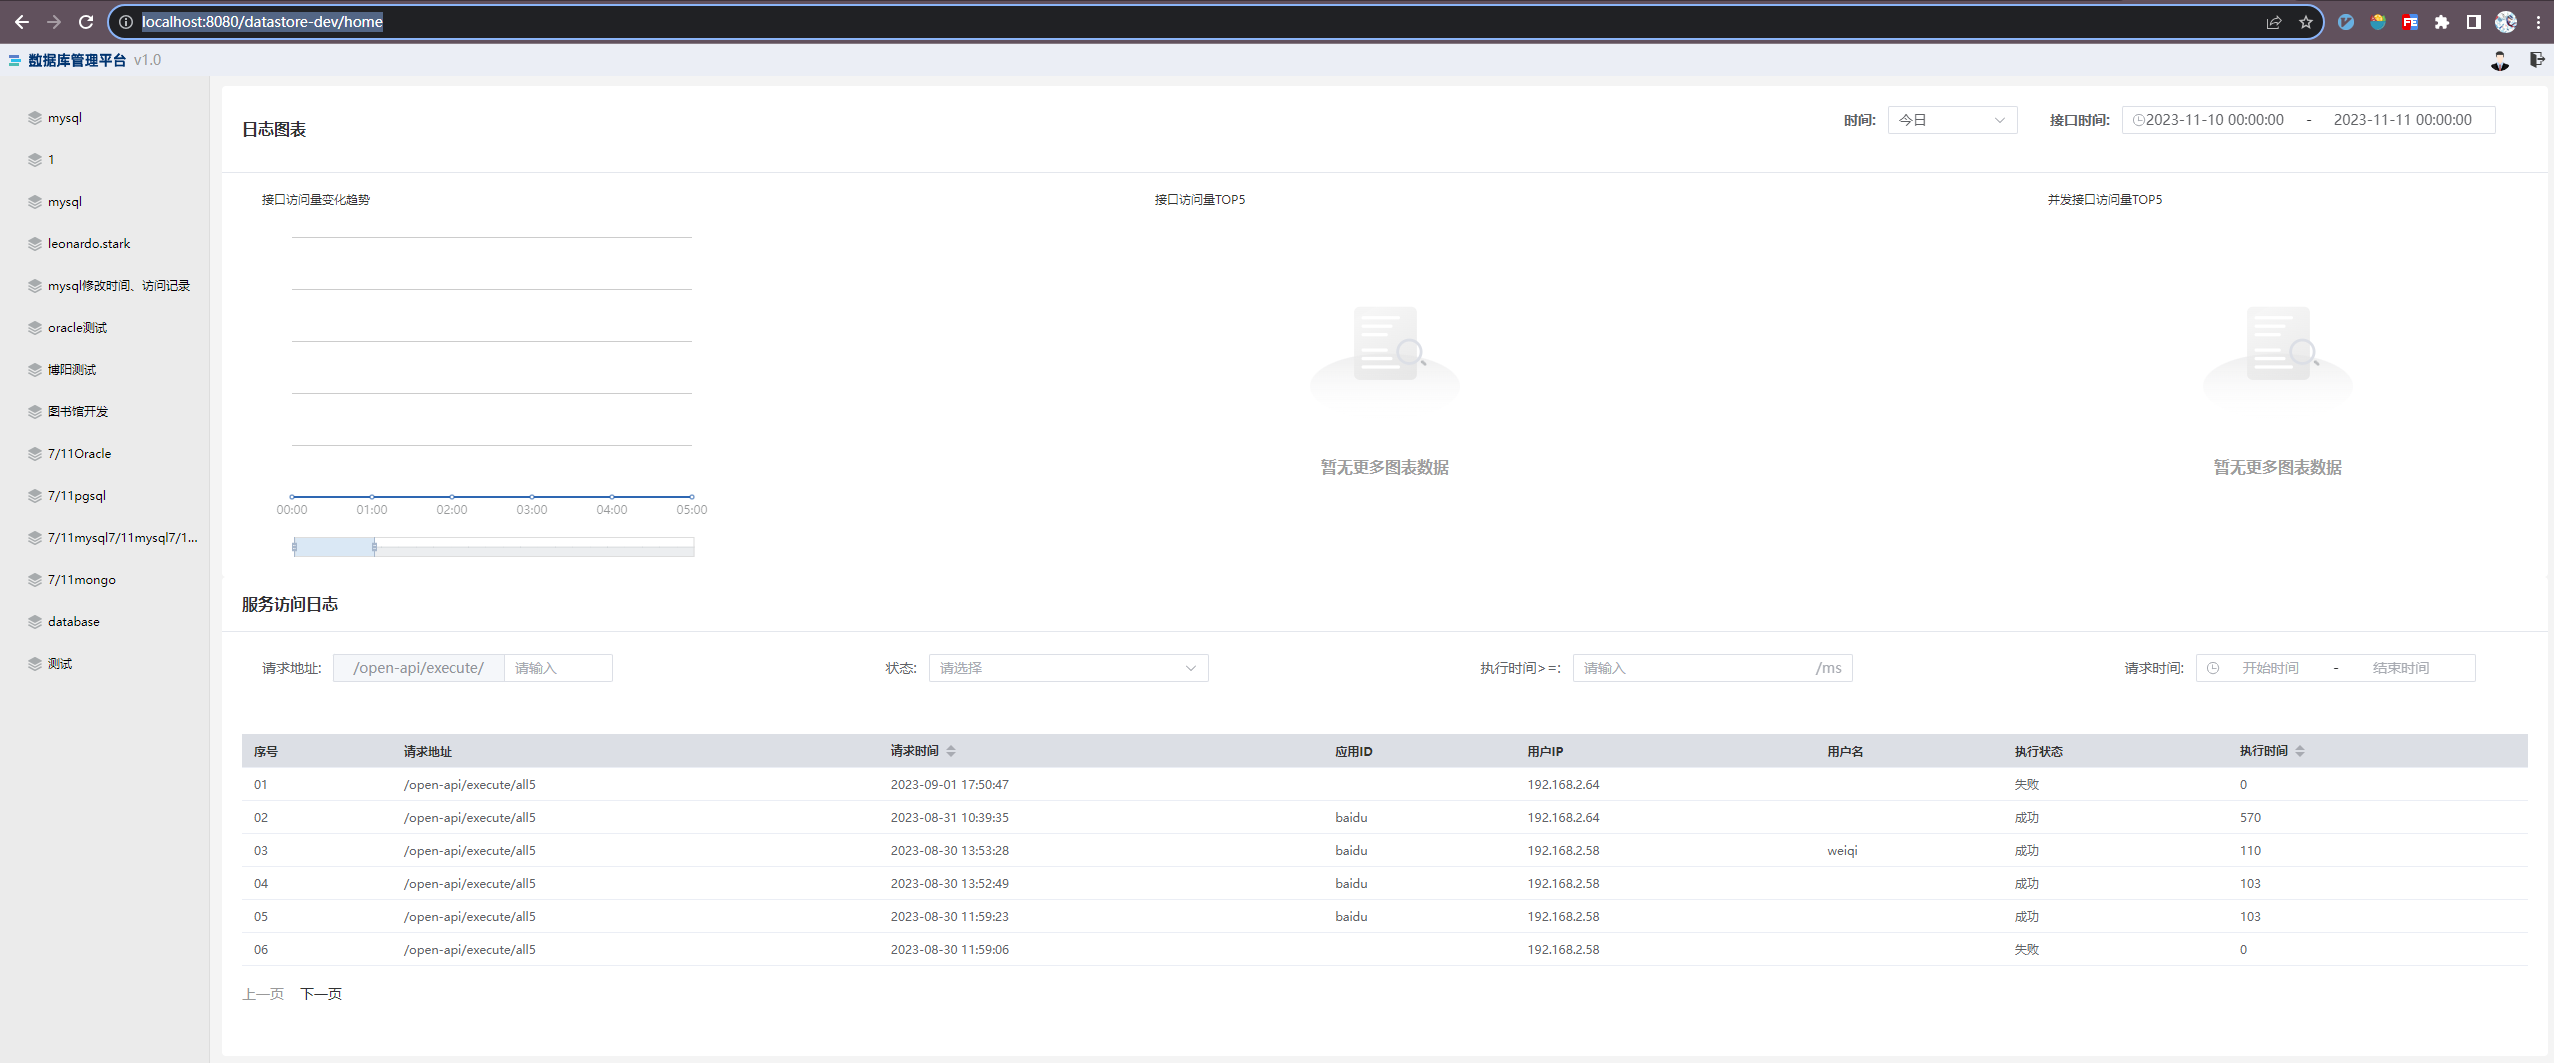
- 导出镜像到本地,上传内网使用
有两种方法,一种是通过容器,一种是通过镜像,其实本质是一样的
通过容器
1
2docker ps -a
docker export 容器id > image.tar
上面命令执行之后,我们便可以在当前目录下发现 image.tar
通过镜像
1
2
docker images
docker save 镜像id > image.tarCopy

优化——通过dokcer环境变量动态配置nginx
部署时,同一份前端代码有时候会根据开发环境不同,需要切换不同的后端接口地址进行代理,而nginx配置绝大部都是相同,只有少部分需要修改,这时候我们就希望nginx配置能够从docker中获取环境变量,动态设置有差异的那部分配置。下面介绍具体实现
开始前先介绍下nginx配置的目录,主要说明conf目录
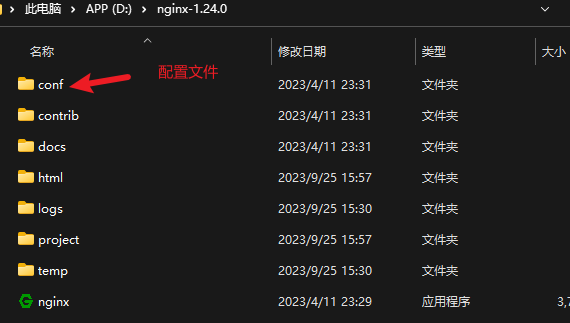
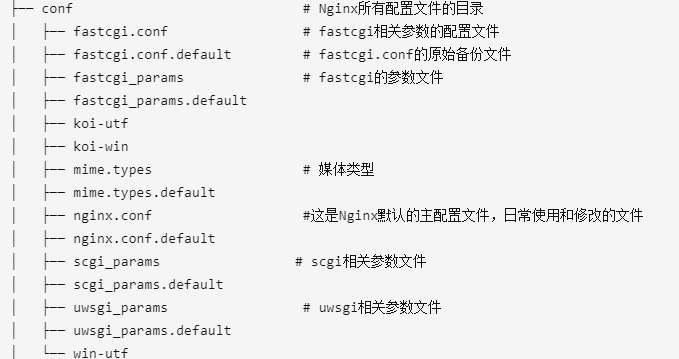
好了,有了上述基础下面的操作就好理解了
- 修改nginx.conf为nginx.template或则新建一个也许,只有不跟nginx.conf重名就行,修改接口代理部分
1 | location /api-datastore-dev { |
修改Dockerfile文件
1
2
3
4
5
6
7
8FROM nginx
RUN mkdir /app
COPY --from=0 /app/dist /app
# 改为从模板文件复制到nginx
COPY nginx.template /etc/nginx
WORKDIR /etc/nginx
# 添加环境变量的写入
ENTRYPOINT envsubst '$apisuffix' < nginx.template > nginx.conf && cat nginx.conf && nginx -g 'daemon off;'这里实现环境变量注入的核心原理是利用linux自带的envsubst指令
envsubst ‘$apisuffix’ < nginx.template作用是取环境的$apisuffix的值注入到nginx.template模板里对应的位置
然后后半句> nginx.conf是将替换好变量后的模板内容写入到docker容器下nginx.conf文件里重新打包
docker build . -t datastore-devdocker run -d -p 8080:80 --name datastore-ui -e apisuffix=http://10.60.87.63:7292 datastore-dev运行镜像,注入环境变量运行
docker logs -f datastore-ui查看日志,之前cat nginx.conf在这儿生效
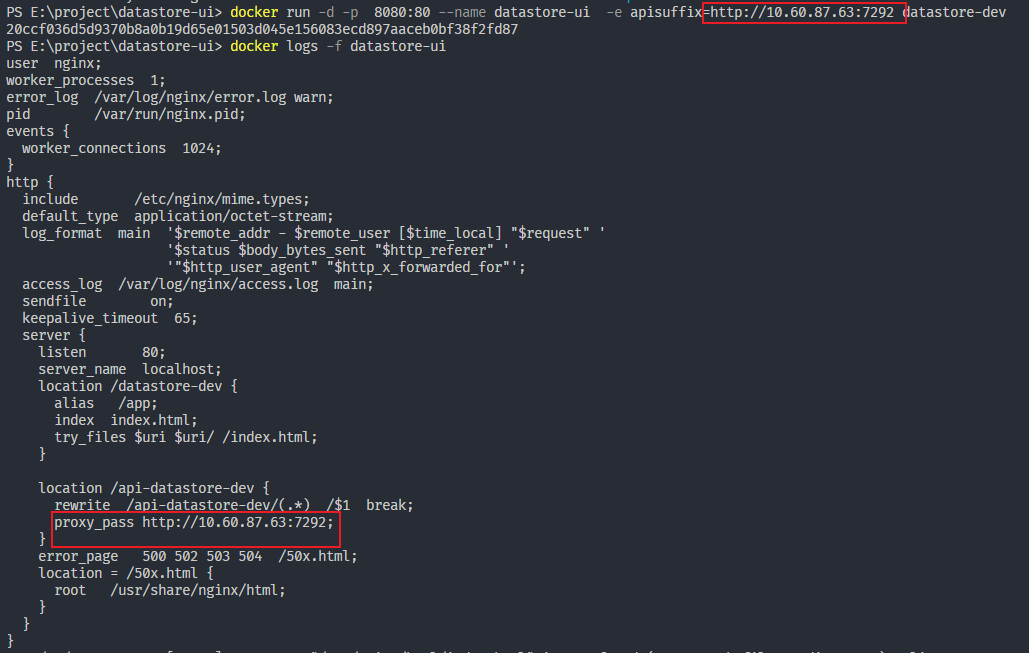
nginx配置已生效。